How to prepare a wall for tiling
Have you ever wondered how to prepare a wall for tiling, the steps taken will vary depending on the surface of the wall. Our guide to surface preparation will help you complete the job correctly avoiding some common mistakes which can end up proving costly further down the line.
Firstly there are some basics steps to take before tiling a wall including:
- Removing any screws/photo hooks/nails or other fittings
- Remove any loose plaster
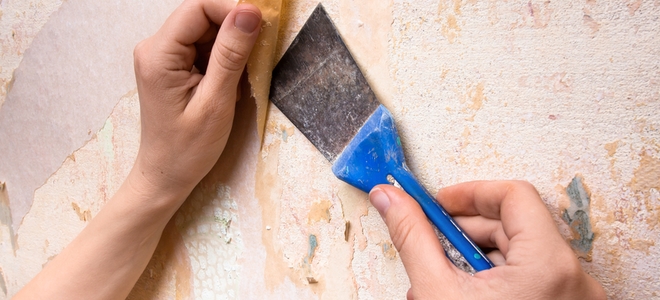
- Remove old wallpaper
- Fill any large cracks/holes in the wall
- Ensure the wall is level and sand if required
- Remove any dust with a vacuum and wipe clean the walls
How to level the wall
The simplest way is using a long, flat piece of timber to check the wall for bumps, slide it across the while whilst changing the angle you look at it from throughout. Any bumps which are more than 4 or 5mm will require sanding to ensure that the adhesive will grip.
Understand the Requirements of the surface being tiled
It is not as simple as a one size fits all approach and you need to take into consideration the surface which the tiles are being applied to. Concrete, drywall, plywood and painted surface all require the appropriate preparation. Fresh plaster takes up to 30 days to dry and wooden surfaces will require priming.
If you were planning on tiling onto raw brick, block work or cement then it would be recommended to either render and plaster or use a cement board such as Hardie Backer which also offers waterproofing and fire resistance.
How to tile on tiles?
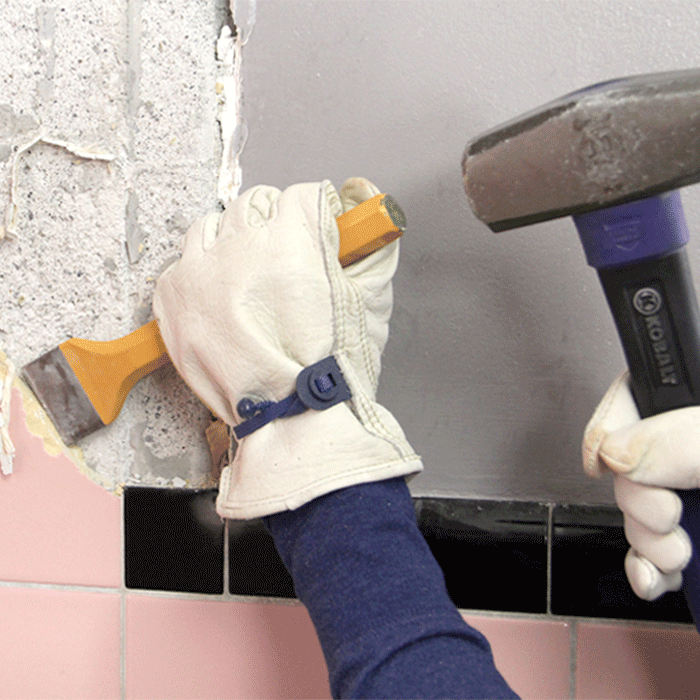
When wanting to tile over old tiles there are two options, either chisel off the entire wall which can be a laborious job or tile over the existing tiles. The old tiles will need treating with a grinder to provide a better surface for the adhesive to be applied to. Alternatively we now offer the innovative Larsen Primer Grip 360 which can be applied to existing glazed tiles to provide a gritty surface for a superior bond and is ready to tile over in just 20 minutes.

It is essential to check for any ‘hollow’ tiles before applying the new tiles over them, simply knock each tile and listen to the sound, you’ll be able to recognize a hollow tile. If there are any then remove it and fill the cavity. The surface needs to be completely clear of any dust or chemical products before applying adhesive to it.
How to prepare drywall for tiling
Fresh plaster requires leaving to dry for up to a month to enable the material to set in and fasten, once ready for tiling there is no need to tape the joints. Apply the last layer of skim coat and then use a medium sand paper to achieve a rough texture which is needed for the adhesive to bond well.
Again, before tiling you need to make sure there is no dust or heavy particles on the surface. Vacuum, then use a damp cloth to wipe the surface then make sure it is perfectly dry before applying the adhesive. Moisture resistant plasterboard or HardieBacker is available and would be recommended for use in bathrooms and wet rooms.
How to prepare old plaster for tiling
Old plaster will not always be suitable to tile on, it depends on the age and condition of the wall, which may be too old to support a fresh installation of tiles. We would recommend consulting a professional to confirm whether the plaster is suitable to tile over or whether it needs removing and fresh plasterboard applying.
Before applying the tiles to plaster we would recommend using the Larsen Acrylic Primer which acts as a seal on gypsum plasters or screeds prior to adding cement based adhesives.
How to prepare a painted or textured drywall for tiling
Firstly, remove any signs of paint not firmly or tightly fixed in place then fill in any cracks and holes which are present and use sandpaper to fix any uneven areas. Following this make sure there is no dust or heavy particles present on the wall using a vacuum then use a dry cloth to make sure it is perfectly clean. Remove any remaining dust, oils and grease from the wall with TSP (tri-sodium phosphate) or an ammonia-based cleaner. Let the wall dry completely before beginning tile installation.
How to prepare a plywood wall for tiling
It is not recommended to use plywood for wall tiling due to the sensitivity to temperature changes meaning there is a continuous change in size which can lead to tiles and grout to crack and cause irreversible damage.
How to tile on wallpaper

It is always recommended to remove wallpaper before tiling due to the shiny, smooth finish. Lining paper will have a raw, textured feel to it.
Remove the wallpaper either using a steamer or strip and sand method, the most important thing is to make sure the surface is moisture free before tile. As always, the surface will need to be dust, dirt and grease free before applying adhesive.