

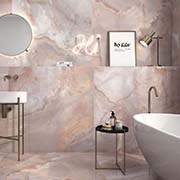
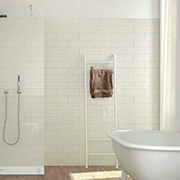
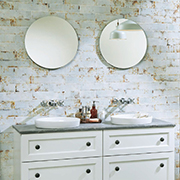

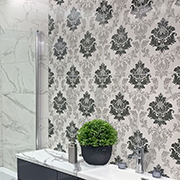


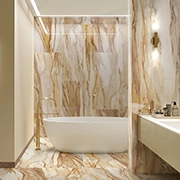


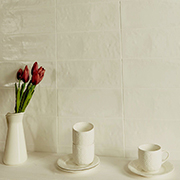
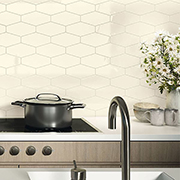
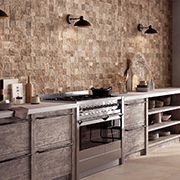
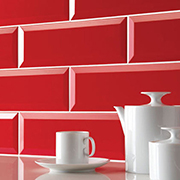


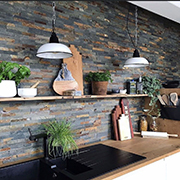


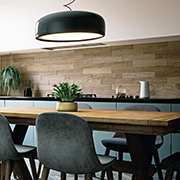

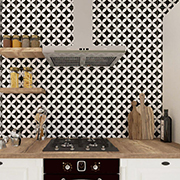


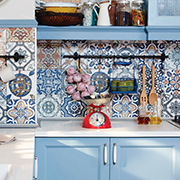
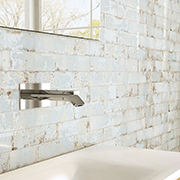
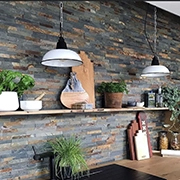


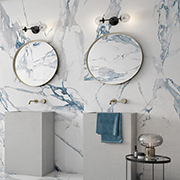

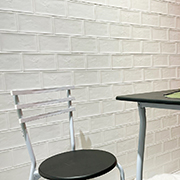

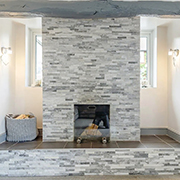
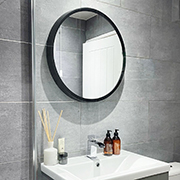
How To Wall Tile
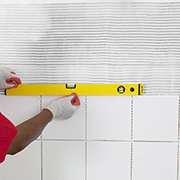
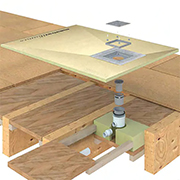
Walls should be sealed with Acrylic Bonding to make the walls easier to adhere to with the tile adhesive. Use a Spirit Level, to secure battens on the wall horizontally, half way up the wall. When tiling above this Batten, you are then ensured the bottom joints of the tiles will be level across the wall and the rest of the wall can then be tiled with spacers, in reference to these perfectly straight tiles.
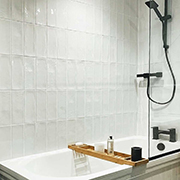
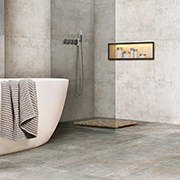
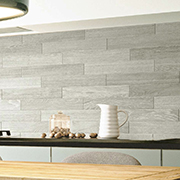
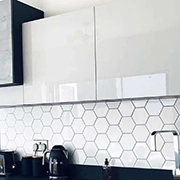
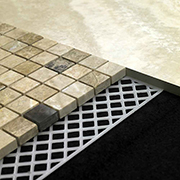
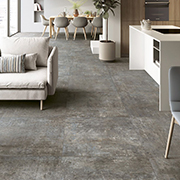
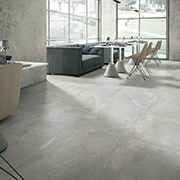
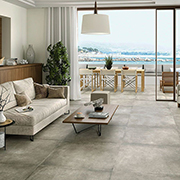
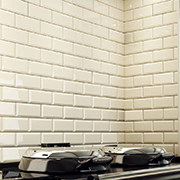
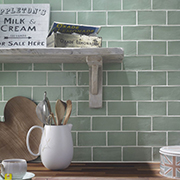
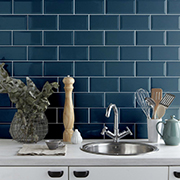
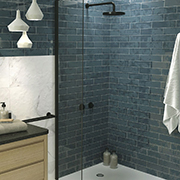
On Large Format Tiles we recommend not to do a half bond pattern. By doing a 50% offset, where the middle of a tile is exactly in line with the grout joint of the next row, you maximize the amount of unevenness, or lippage, between the tiles. Therefore, it is best not to lay them with a 50% offset but instead use the industry recommendation of an offset of no more than 33%.
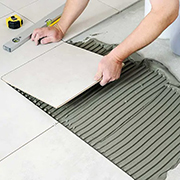
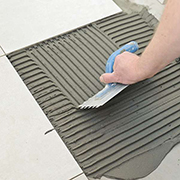
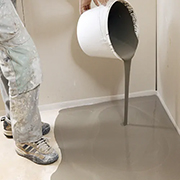
You should always work outwards from the centre of the wall, checking before spreading adhesive on the wall, that there aren’t any really small cuts at the edges which may make the room look unprofessional, or make the corner grout joint too large. When spreading adhesive, don’t spread more than 1m2 worth of adhesive at a time and don’t exceed the recommended depth by the manufacturer.
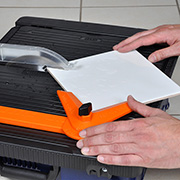
Fix the Tiles to the wall by using a twisting and sliding motion, to ensure the adhesive is in full contact with the tile. Use spacers to ensure the tiles are evenly spaced which will ensure a uniformed grout joint. Excess adhesive should be wiped away as you go, as it is much easier to clear before it sets. For straight cuts, the tiles can be cut to the desired size by using a score and snap tile cutter. We have in stock a selection of tile cutters, nippers, saws and other tools which make this process a lot easier, please view the tools section, or contact us for more information. Sharp edges should be filed with a tile file to ensure a nice joint and for safety when grouting.
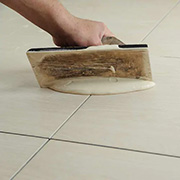
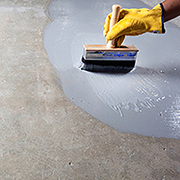
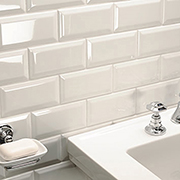
Once the Tiles are fixed, the tiles adhesive should be allowed 24 hours to set fully before grouting. The Grout should be mixed with water to the specification on the bags instructions, being sure not to exceed the rate at which you grout, as the grout may start to go off, as you are grouting. Using a grout spreader or float, you should then work the grout into the joints, wiping off excess grout as you go, as it is harder to clean off once it has dried. To ensure a professional and clean looking finish on the joints, a grout finisher or the corner of a damp sponge should be used to compact the grout into the joint, and give the surface a curved and smoother finish.
Once the grouting is completed, the grout should then be left to set, a hazy residue of grout dust will then be left on the surface of the tiles, this should then be dusted off with a dry cloth.
We recommend wearing protective clothing, such as Gloves and Goggles when cutting and fixing tiles and grouting. A face mask should be worn when grouting/dusting, to prevent inhaling any of the grout residues.
