
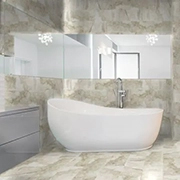
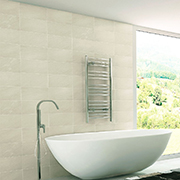
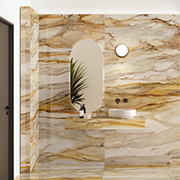
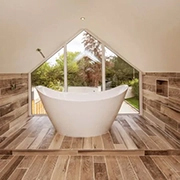


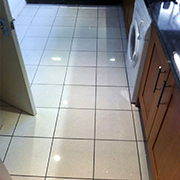


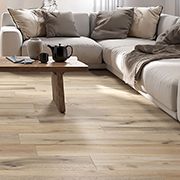


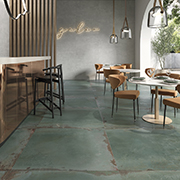
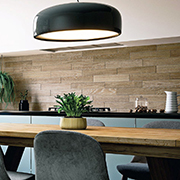


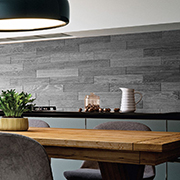


How To Floor Tile
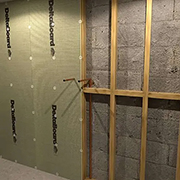
Good Preparation is Key to a well tiled, professional looking Floor, ensure the floor is level, clean and dry. First of all, we highly recommend priming the floor with acrylic bonding priming agent, this seals in any dust and makes the floor a better surface for the adhesive to stick to.
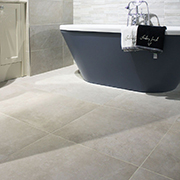
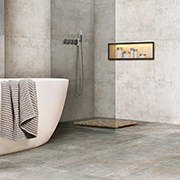
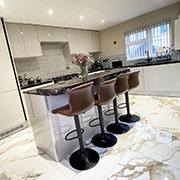
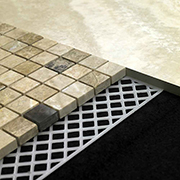
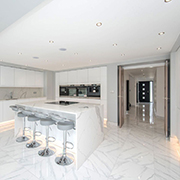
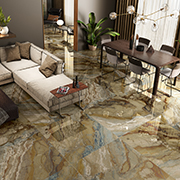
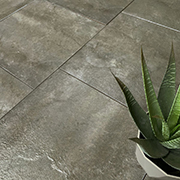
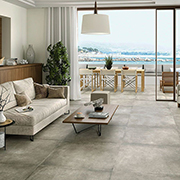
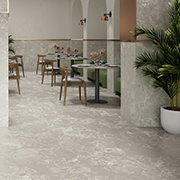
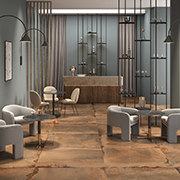
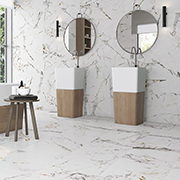
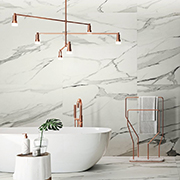
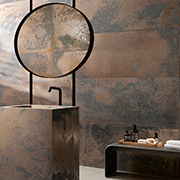
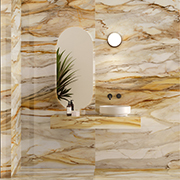
On Large Format Tiles we recommend not to do a half bond pattern. By doing a 50% offset, where the middle of a tile is exactly in line with the grout joint of the next row, you maximize the amount of unevenness, or lippage, between the tiles. Therefore, it is best not to lay them with a 50% offset but instead use the industry recommendation of an offset of no more than 33%.
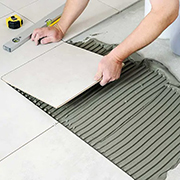
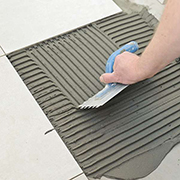
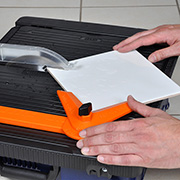
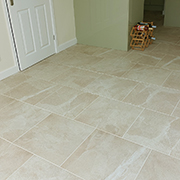
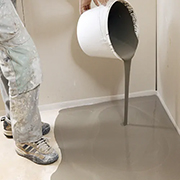
In the centre of the room, mark a line from one wall to the other and lay out full tiles to see how they will fit best, normally the ‘Best’ means the pattern with the tiles requiring to be cut with an even sized cut at each side of the room, hopefully one tile can be used for both sides. Mix the Adhesive as per the instructions, taking care not to mix an excess of what is needed for the next 20 or so minutes of work, especially with rapid set, as the adhesive will go off too quickly and will be no use. Use a notched trowel, usually a 12mm trowel, and spread the adhesive across the floor, being sure to keep it even and being careful not to exceed your 20 minute work rate.
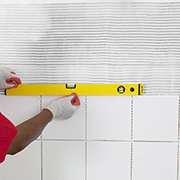
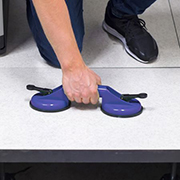
Now, fix the floor tiles to the floor, by pressing the tile down, twisting and sliding the tile into the adhesive to ensure full contact between the tile and adhesive, also creating some suction, keeping the tile down. Use floor tile spacers to ensure the tile joint is even throughout the floor so that it looks professional, we recommend you use a quality tile cutter to give it a quality straight cut, being sure to keep the tiles cut edges towards the walls of the room. Check regularly with a spirit level to ensure the tiles are lying perfectly flat, to eliminate any chances of the tile edges ‘lipping’. Excess adhesive should be wiped off immediately, as you tile across the room, with a sponge or damp cloth; it is much easier before the adhesive dries.
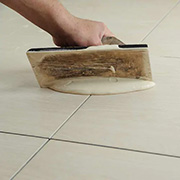
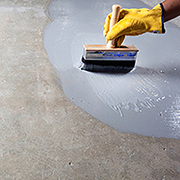
Once the tiles are fixed and the adhesive is setting, it is recommended to allow at least 24 hours for it to set fully before grouting. The Instructions on the products bags should be followed at all times. As with the adhesive, mix the powdered grout as per the instructions on the bag and being sure not to exceed your work rate. Work this grout into the joints, covering the spacers and completely filling the gaps, similarly to the adhesive, remove excess grout from the tiles surface as you go, being careful to not let it dry. To give a professional grout finish, we recommend using a grout finisher or a sponge at an angle to remove any excess grout off the top of the joint so the grout doesn’t protrude above the lip of the tiles edge.
Once the grout is dry and has created a mist on the surface of the tile, use a dry cloth to wipe away this dust to leave the tiles with a perfect finish.
We recommend wearing protective clothing, such as Gloves, Goggles, and a dust mask when grouting, to prevent injury.